
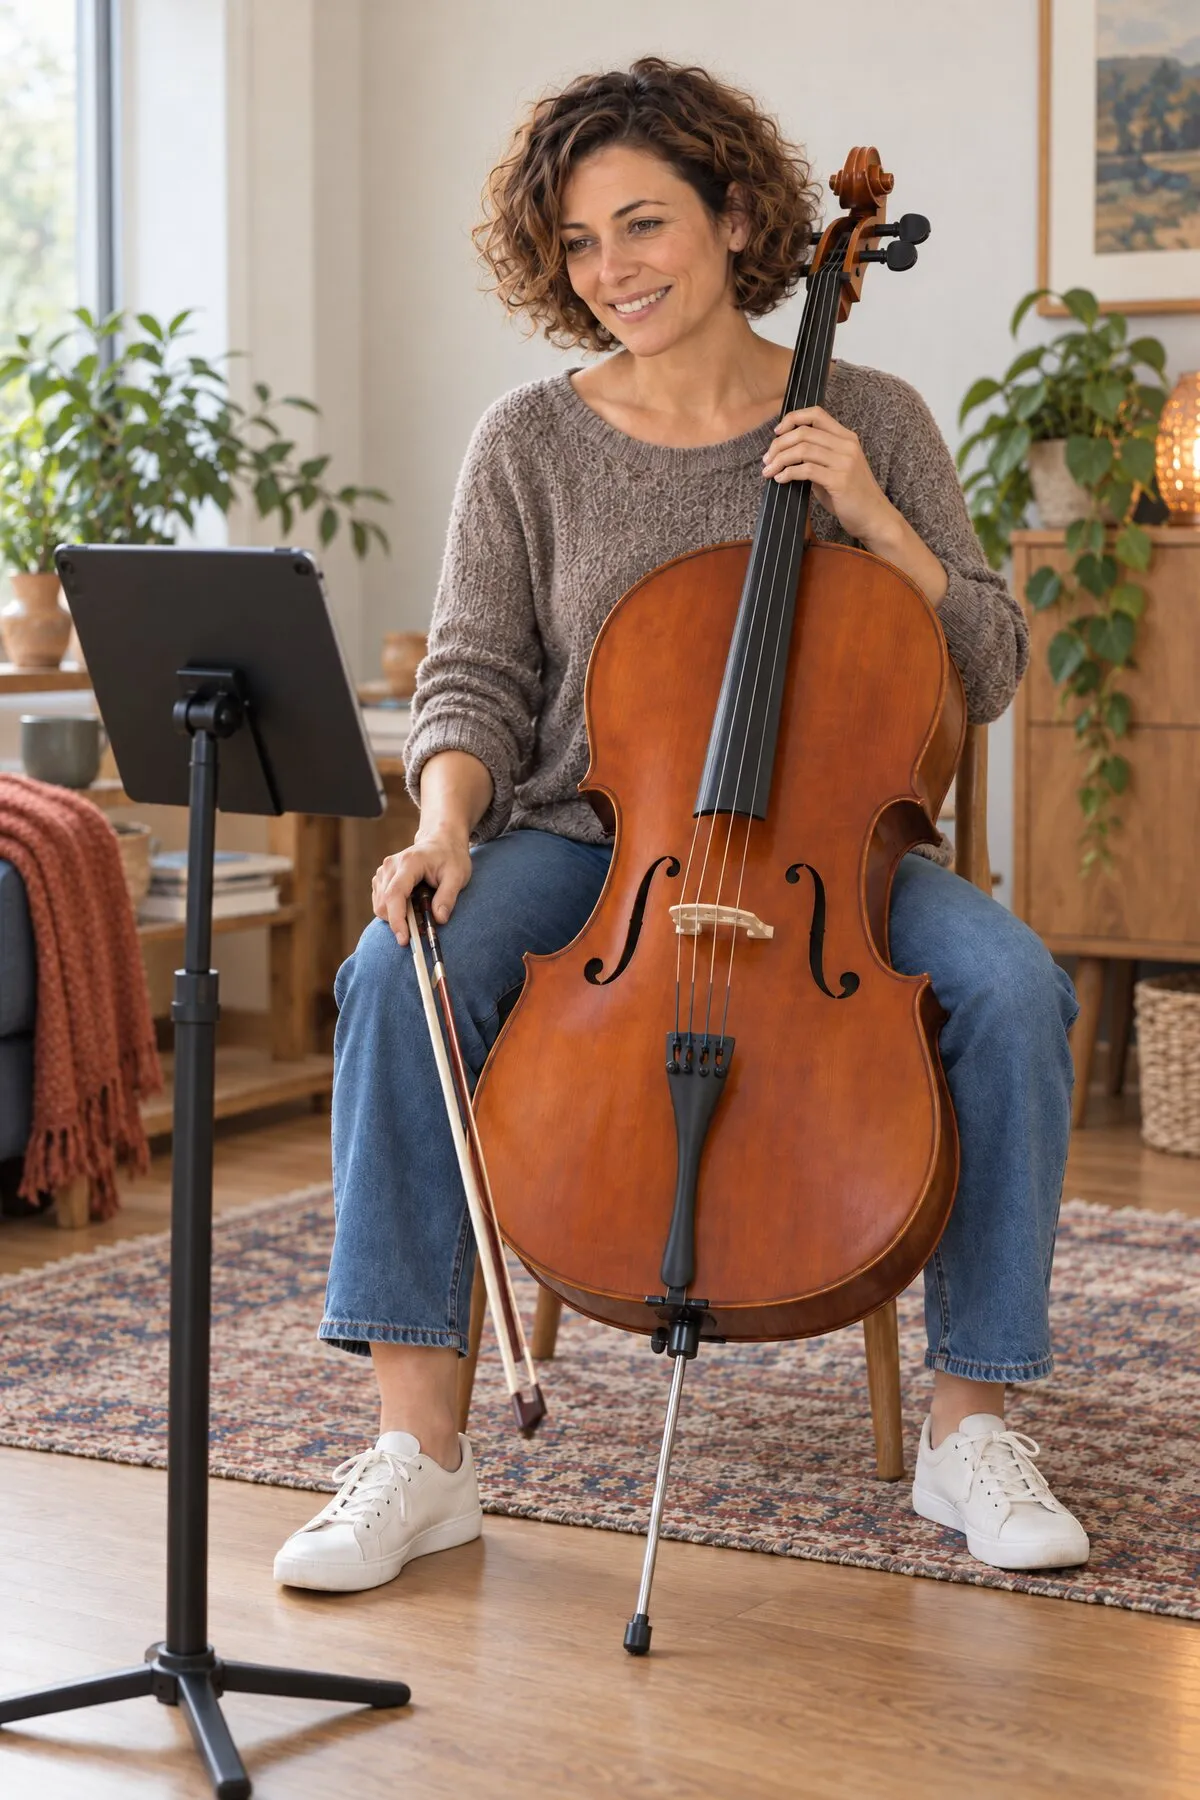
What you can do on your own
- Practice when it suits you. Morning, evening or a quarter of an hour between two appointments: there are no lesson times and no travel.
- Know whether a note was right. You see at once in tonestro whether a note was in tune and in time, even with nobody else in the room.
- Look up finger placements. The fingering chart in the app suggests a finger placement for each note it covers, and the chart on our website lists 28 notes from C2 to Eb4. For a path to follow, tonestro has two cello courses made by music teachers.
Three typical self-study mistakes
- A tight bow hold
Many self-learners squeeze the bow and lock the thumb straight. The sound gets pressed, and the arm tires quickly.
What helps: Keep your thumb bent and your fingers soft and rounded over the stick, and let the weight of your arm do the work. tonestro checks pitch and rhythm for you; glance at your bow hand now and then.
- A squeezing left thumb
To press the strings down, beginners often pinch the neck between thumb and fingers. The hand gets stiff and slow.
What helps: Let your thumb rest loosely behind the neck, roughly opposite your second finger; the string goes down through the weight of your arm, not by pinching. Use a mirror to check the thumb's position, and between notes, pause and notice whether you are squeezing the neck.
- Rushing
If you play a new passage at full speed right away, you easily practice your mistakes along with it.
What helps: Choose one bar and practice its bowing on the open strings first, then add the left-hand notes slowly. Speed up only when it feels comfortable and steady.
Your practice week
- Every session: tune and warm up
Tune all four strings, then play two minutes of long, slow bows on the open strings.
- Days 1 and 2: the left hand
Practice one finger pattern on one string at a time and listen closely to each note.
- Days 3 and 4: one new passage
Pick a short passage from your current song and play it slowly until it runs comfortably and steadily.
- Day 5: string crossings
Practice moving from one string to the next with a smooth, even arm.
- Day 6: play for fun
Play songs that already feel easy, then give yourself day 7 off.
Your tools
- Cello fingering chart (C2 to Eb4)
- How does tonestro hear me play?
- Music lessons or an app: which is right for me?
Questions about learning alone
Can you really teach yourself the cello?
Yes. What you need is a regular routine, patience with the bow and a way to check your notes. The general question is answered in Can I learn an instrument without a teacher?
How do I know if I'm playing in tune on my own?
Use the open strings as a reference: when your fourth finger on the G string plays a clean C3, the open C string an octave below rings along. On top of that, tonestro shows you right away which notes were in tune.
How do I check my posture without a teacher?
tonestro gives you feedback on pitch and rhythm. For your posture, film a minute of your playing from the front and watch closely: is the bow straight, are your shoulders down, is your left wrist relaxed?
How do I tune my cello by myself?
Start with the A string, then tune the D, G and C strings. Make small corrections with the fine tuners, if your cello has them, and bigger ones with the pegs; a tuner shows you when each string is right.
Updated: